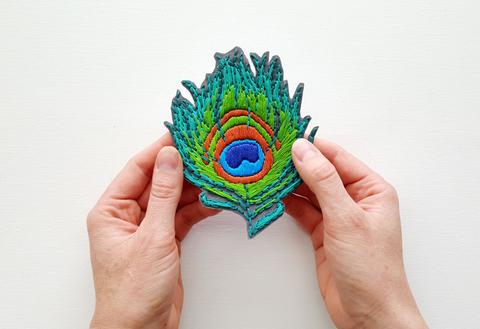
An embroidery badge or patch is known for adding art value and style to clothing in significant ways. It is an embroidery piece stitched into a fabric backing using thick colourful threads. Other than being thread stitched embellishments, these patches are increasingly used to reflect the popular culture and promote causes. Because of their small, expressive, and intricate design, patches are popular in other cultures too.
Embroidery badges have their roots in ancient China and a history dating back to the third century BC. With embroidery machines making their way to the clothing industry, this traditional stitching method keeps reinventing itself in every era. In this guide, you will learn about their types and uses, different ways to apply embroidered badges to clothing, and materials and steps involved in its making.
Types and uses of embroidery patches
- Classic Sew-on Patches: Stitched into any fabric surface.
- Iron-On Patches: Are created by applying a special adhesive to a fabric backing.
- Velcro Patches: With velcro backing.
Embroidery patches can be used from personalising accessories to creating business logos and promoting awareness advertising, and can be categorised as:
- Brand Patches: To represent a brand logo.
- Group Identity Patches: To identify groups like the police.
- Skill Patches: To support the Army or movements.
Ways to apply embroidery patches
To bring consistency and make it more convenient, one can choose from the following ways to apply embroidery patches to their clothing.
- Sewing
Sewing fabric backing onto the garment is a proven but time-consuming method to apply patches most firmly.
- Heat Sealant or Glue Patches
Unlike sewing, applying the sealant on the fabric backing helps hold the patch onto the clothing and make it stick to the fabric surface when heated.
Materials needed for embroidery patches
Here is a list of items essential for embroidery patches if done by hand or using sewing machines.
- Wooden hoop
- Crewel needles
- Scissors
- Vanishing fabric marker
- Bright floss
- Natural fat quarters
- Iron-on adhesive
Steps for making embroidery patches
- Preparing a patch design with a higher level of detail.
- Sewing a sample patch.
- Embroidering multiple patches on a water-soluble stabiliser (twill material) on the hoop.
- Heating the uncut material to apply an adhesive backing to the fabric to prevent fraying.
- Cutting the extra fabric with scissors.
Started as a way of patching and repairing defects in clothing, embroidery badges gradually transformed into decorative expression. The classic embroidered patches are back in trend, with celebrities flaunting it on their designer dresses and international retailers investing heavily in it. Be it engraving names or depicting any image, embroidery patches are an excellent way to symbolize individualism, branding, and empowerment.


